In today’s fast-paced digital world, photographs have turned from occasional keepsakes into daily expressions of life. Thanks to the ubiquity of smartphones, everyone possesses a camera in their possession perpetually, enabling them to freeze-frame their most memorable moments in an instant.
Nevertheless, there are instances when your phone’s camera might not capture the picture in the way you envisioned it. This is where photo editing tools, such as BunnyPic, come in handy. These sophisticated software platforms can transform your images, inverting the colors to offer a unique aesthetic appeal, boost contrast, or offer more flexible color options for colorblind users. Another important use is the inversion of colors in old films to convert them into digital formats.
This extensive guide will delve into how you can leverage the free online tool provided by BunnyPic to both, invert your images into negatives and convert your old negatives into positives.
Transforming Photos into Negative with BunnyPic: A Guide
In photography, a negative image is a kind of image in which the colors are reversed from those in the original or most commonly seen version of the image. This implies that darker shades morph into lighter ones, and vice versa: blacks become whites and blues transform into oranges, following the logic of the color wheel. The colors that are diametrically opposed to each other on the color wheel are called complementary, and when you invert the colors of an image, all colors swap to their complementary counterparts.
If you’re toying with the idea of giving a creative twist to your photos or want to digitize old negatives, BunnyPic can be your go-to tool. Here’s a step-by-step guide on how to invert your photos using BunnyPic:
- Begin by navigating to the BunnyPic Editor to upload the photo you want to convert.
- Once your selected image is loaded onto the BunnyPic platform, you need to head over to ‘Image’ > ‘Adjustments’ > ‘Invert’.
And there you have it! Just like that, in two quick steps, you can convert a regular photo into a negative. Bear in mind that the resulting effect often depends on the colors and lighting in your original image. Experiment with different photos to see which ones yield the most interesting results when inverted.
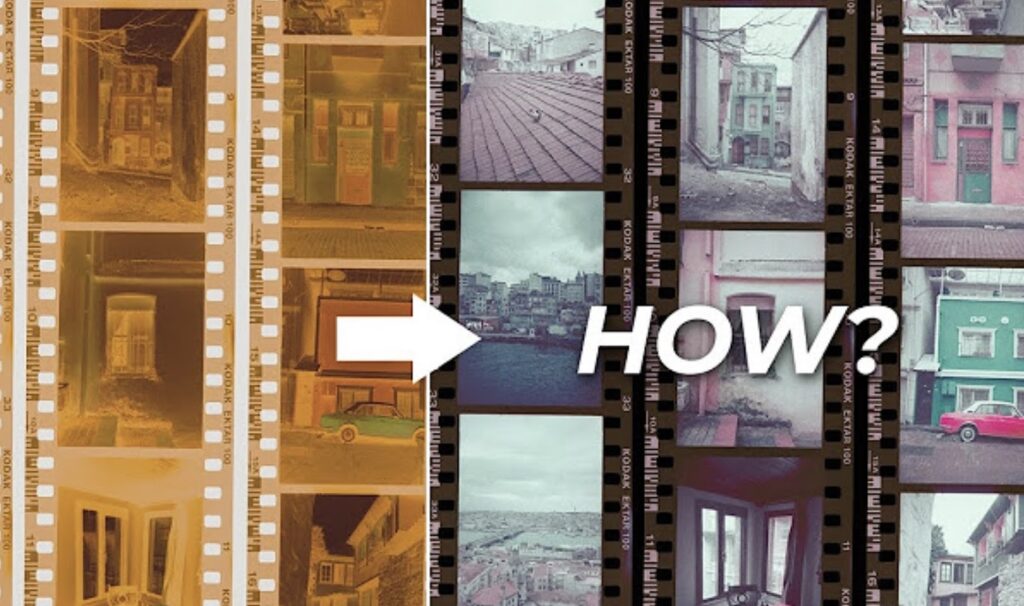
Converting Old Film Negatives to Digital Photos with BunnyPic
Many homes have stashed away memories in the form of old camera films, filled with precious images of the past. These may be from an aged 8mm or 35mm film, a dusty reminder of your parents’ childhood or your own early years. As time progresses, these vintage keepsakes are susceptible to damage and fading, making it crucial to find a way to salvage these irreplaceable moments.
Enter BunnyPic, a digital savior for your aging memories. With this photo editing tool, you can convert old negatives into positive digital images, preserving the original colors and salvaging the fading photos. The process involves taking a photo of the negative, followed by several transformative steps in BunnyPic.
Follow these meticulous steps to breathe new life into your old negatives:
- Capture the Negative: Make sure to place the negative in front of a strong source of light, allowing light to pass through and make the image clear. Capture this scene with your camera;
- Transfer to Computer: Send the photo from your camera to your computer, ready to be uploaded onto the BunnyPic Editor;
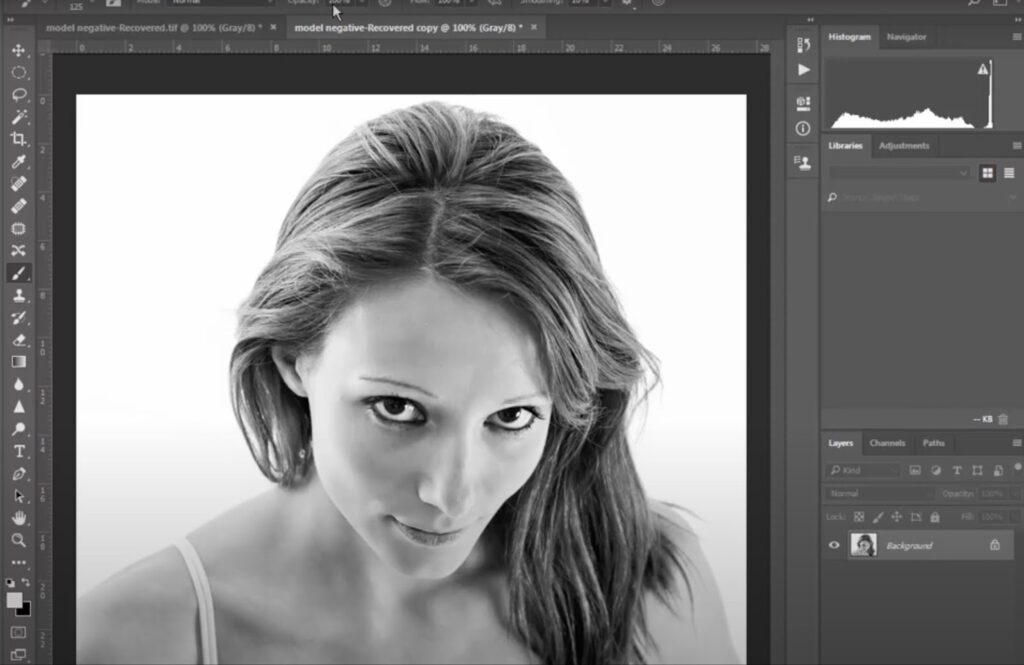
- Image Trimming: Once the photo is opened in BunnyPic, it’s time to crop it. You can remove any unnecessary parts by selecting the crop tool from the left toolbar and dragging the corners of the image;
- Layer Duplication: Create a copy of the layer for non-destructive editing by navigating to Layer > New > Layer Via Copy. Alternatively, you can simply press CTRL+J;
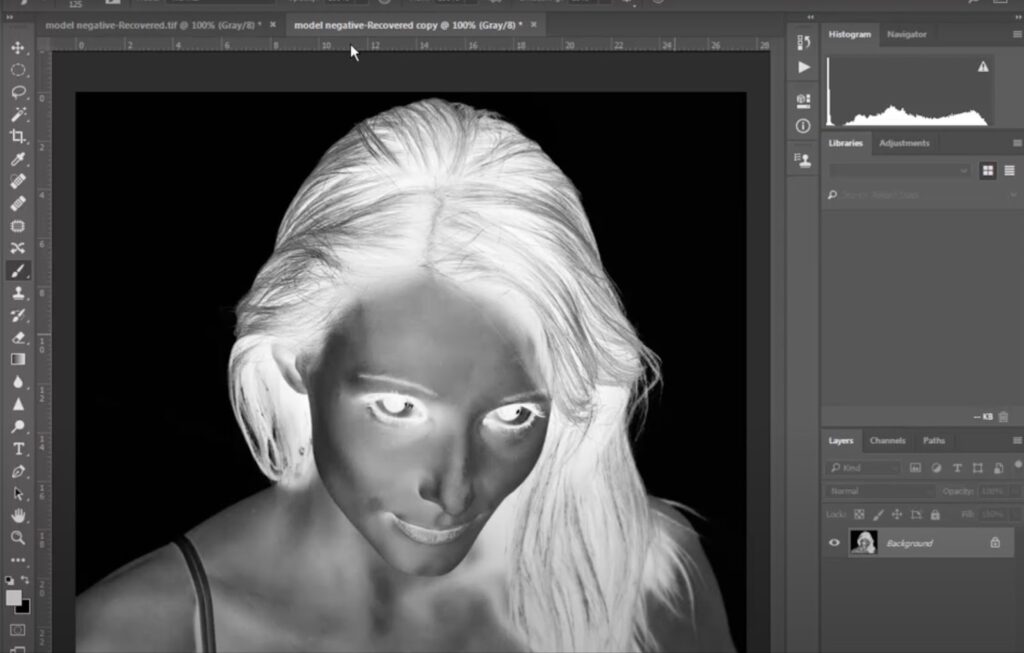
- Color Inversion: To convert the negative to a positive image, you would now need to invert the colors by heading over to Image > Adjustments > Invert;
- Color Correction: If the image appears too blue or off-color, you can correct this by adjusting the RGB colors via adjustment layers. Go to the Layers Panel and click on the adjustment layers icon at the bottom, selecting Levels. Adjust the Red, Green, and Blue color values until the original colors are restored.
Transforming Photos into Negatives on an Android Device
In the digital age, smartphones have become mini-computers that fit snugly into pockets. While BunnyPic’s online photo editing tool is designed for computer use, Android users need not fret. Their devices come equipped with built-in features that allow the inversion of colors, transforming normal photos into intriguing negatives.
Here’s how you can navigate through your Android device to achieve this:
- Accessing the Settings Menu: Begin by tapping on the ‘Settings’ icon on your device’s home screen or app drawer;
- Navigating to Accessibility: Within the ‘Settings’ menu, find the ‘Accessibility’ section, typically represented by an icon of a hand. Tap to open it;
- Inverting Colors: In ‘Accessibility’, locate the ‘Color Inversion’ or ‘Invert Colors’ option and tap on it. This immediate action will transform all the colors on your phone screen into their inverted versions.
Upon completion of these steps, your Android device’s color scheme should be transformed into a negative version, converting all visible images into negatives as well.
Transforming Photos into Negatives Using an iPhone
For iPhone users seeking to add a creative spin to their photos, worry not. Even without the luxury of a computer or access to online tools like BunnyPic, your iPhone is equipped with built-in and third-party options that allow you to invert the colors of your photos. Here’s how you can navigate through these options and transform your photos into negatives.
Option 1: Accessibility Settings
This is the quickest way to turn your photos into negatives on iOS.
- Find and open ‘Accessibility’ by heading to ‘Settings’ > ‘General’ > ‘Accessibility’;
- Under the ‘Vision’ section, tap on ‘Display Accommodations’;
- Select ‘Invert Colors’ and choose the mode that fits your need.
For newer iOS versions, you have two types of color inversion to choose from – ‘Smart Invert’ and ‘Classic Invert’.
‘Smart Invert’ only reverses your screen’s colors partially. It excludes darker images and certain media, leaving the remaining colors reversed. On the other hand, ‘Classic Invert’ reverses all the colors on your screen, including images, which is the perfect choice if you want to convert photos into negatives.
You might also want to create a shortcut for quick alternation between negative and positive photos. To do this, navigate to ‘Settings’ > ‘Accessibility’ > ‘Accessibility Shortcut’, and turn on ‘Classic Invert’.
Option 2: Using Third-Party Apps
The App Store offers numerous apps to aid in converting positive photos into negatives. One recommended choice is Negative Me, which is free and very user-friendly. Simply upload your photo and watch the app do the magic for you.
Option 3: Using Online Tools
iPhone users can also utilize online tools to invert their photos. A good example is Pinetools, a website dedicated to performing this task.
- Go to Pinetools.com/invert-image-colors;
- Tap ‘Choose File’ and upload the image you want to transform into a negative, then tap ‘Invert’;
- Moments later, your image will have inverted colors, ready for download in formats like PNG, JPG, and WEBP.
How to Curve an Image Without Photoshop
While the focus of this article has primarily been on the inversion of colors and the transformation of photographs into negatives, it is equally essential to explore alternative creative possibilities. For those who seek to add a unique curvature to their images without the use of conventional software like Photoshop, innovative solutions are available. These tools enable the creation of captivating visual effects, further expanding the realm of artistic expression within the digital landscape.
By integrating these techniques into your repertoire, you can infuse your photographs with a distinctive and captivating appeal, transcending the boundaries of conventional photography. Whether it’s through the manipulation of colors or the exploration of innovative effects, the digital age empowers you to craft visual narratives that captivate and inspire.
Conclusion
In conclusion, photo inversion isn’t just a photo-editing technique; it’s a creative tool, a memory preserver, and a source of entertainment. Regardless of the device or platform you’re using, the ability to transform and manipulate images through color inversion is an invaluable skill in the digital age. Whether it’s through BunnyPic or your device’s built-in features, the world of negative images offers unexplored creative avenues at your fingertips. So, let your creativity flow, and start exploring the fascinating world of photo inversion today!